In industrial applications (including automotive and aviation), small manufacturing defects can lead to expensive or catastrophic failures. Manufacturers rely on human inspection or costly and complex optical systems hardware to detect such defects.
Recent advances in camera processing and software development have created the potential for lower cost and more flexible inspection systems.
This post will describe a method developed by OFH to identity scratches and surface defects as small as 10 microns. The system uses open source computer vision software, a low cost processor, and inexpensive camera and illumination systems.
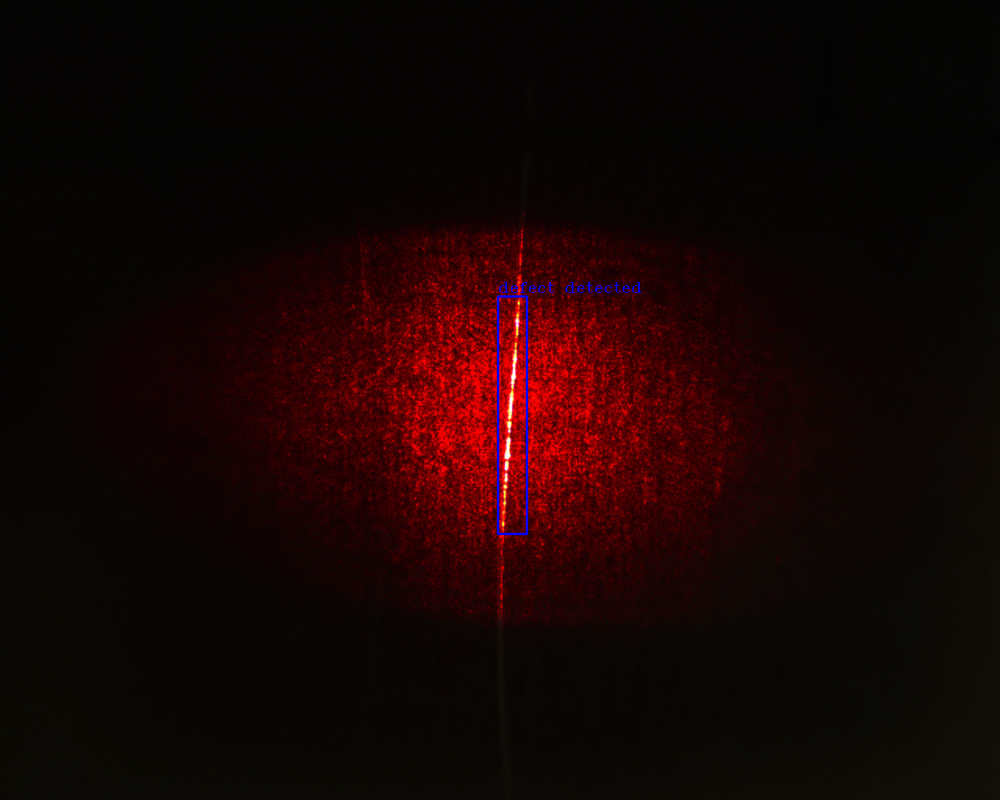
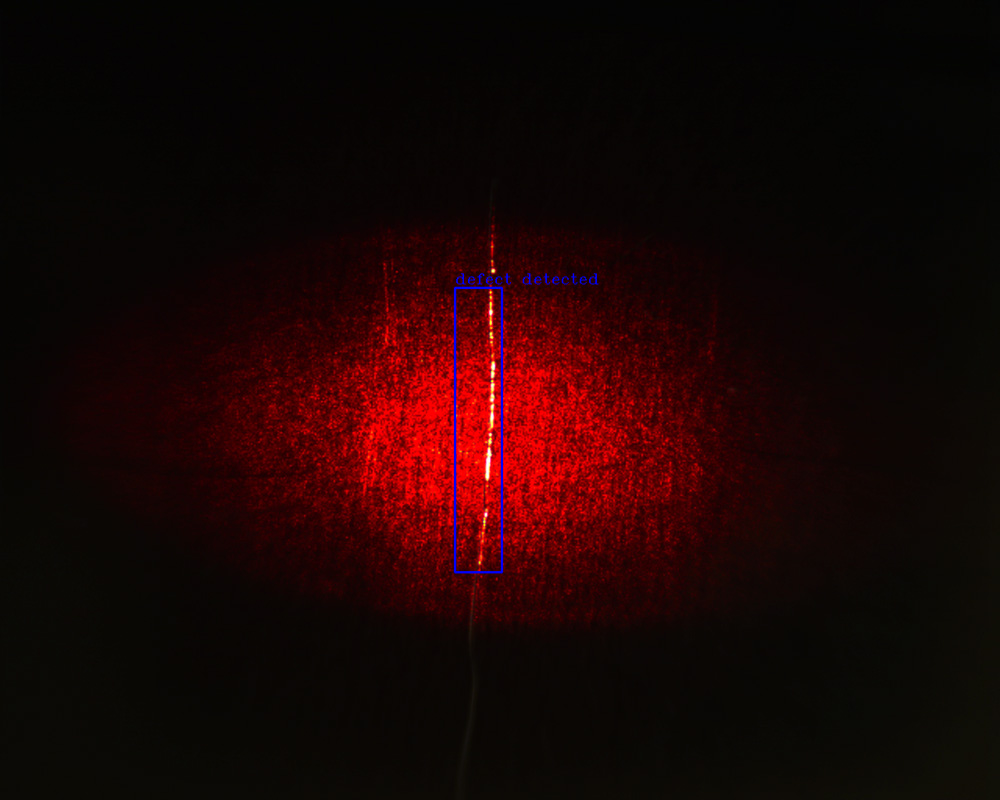
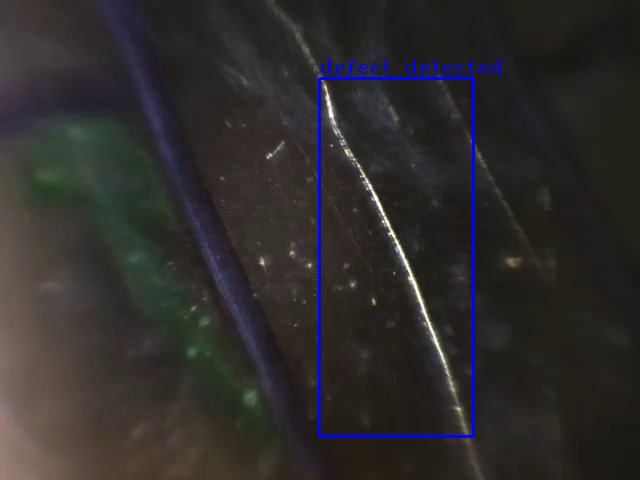
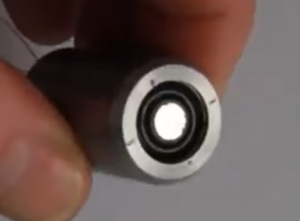
The photo below shows the experimental setup including a custom back-light for dark field illumination and a test object. Two types of back-lights were tested: a red coherent light and a white light. The object is a polished stainless steel surface with intentional scratches of different thicknesses (from 10 to 45 um).
For detection, a USB camera and a laptop running custom code based on OpenCV + Python are used. The software methods used include blob detection, edge detection with find contours, adaptive color filtering, mathematical morphology, and image histogram analysis. Depending on processor power, more than 50 frames per second can be analysed.
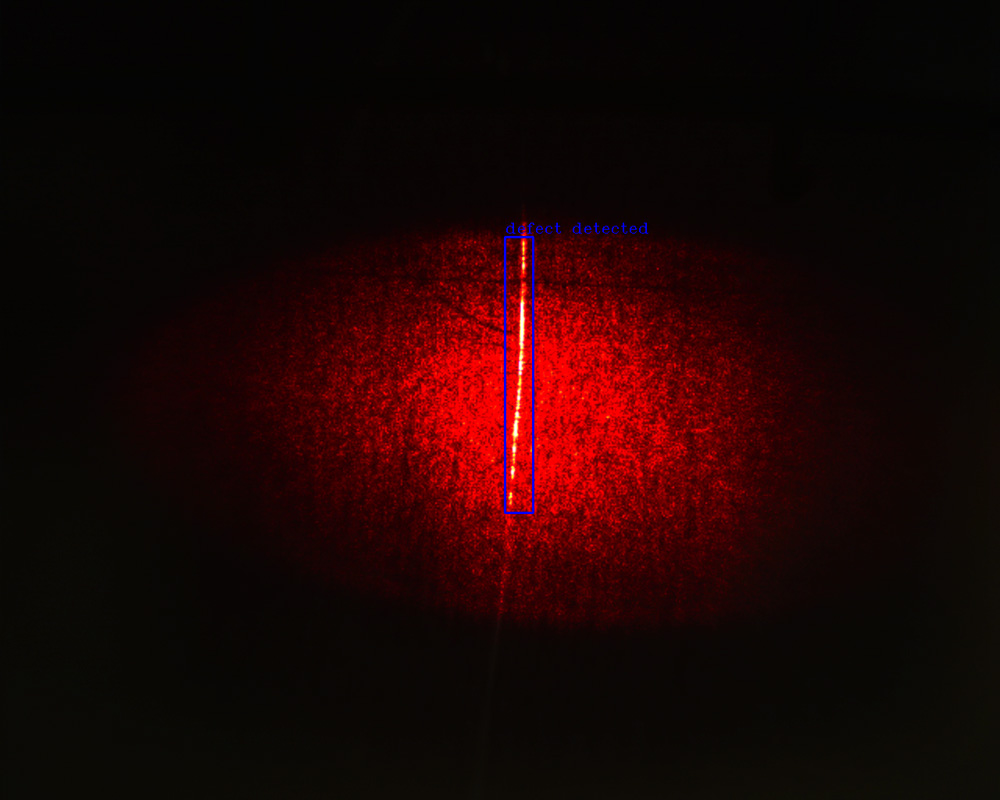
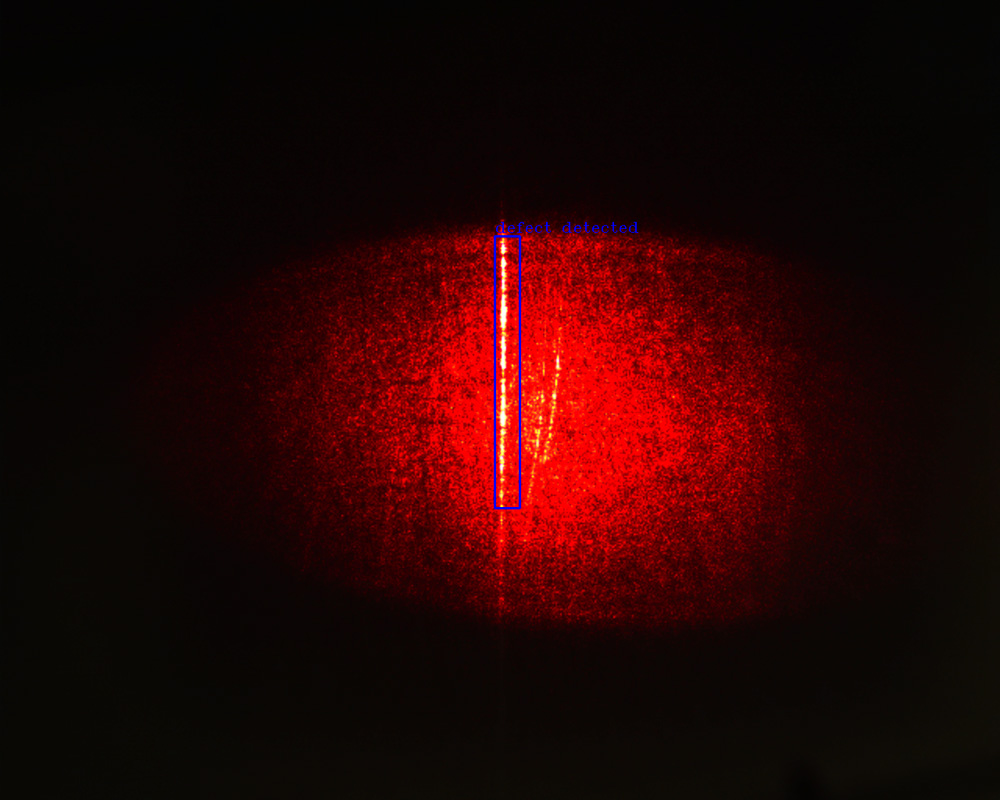
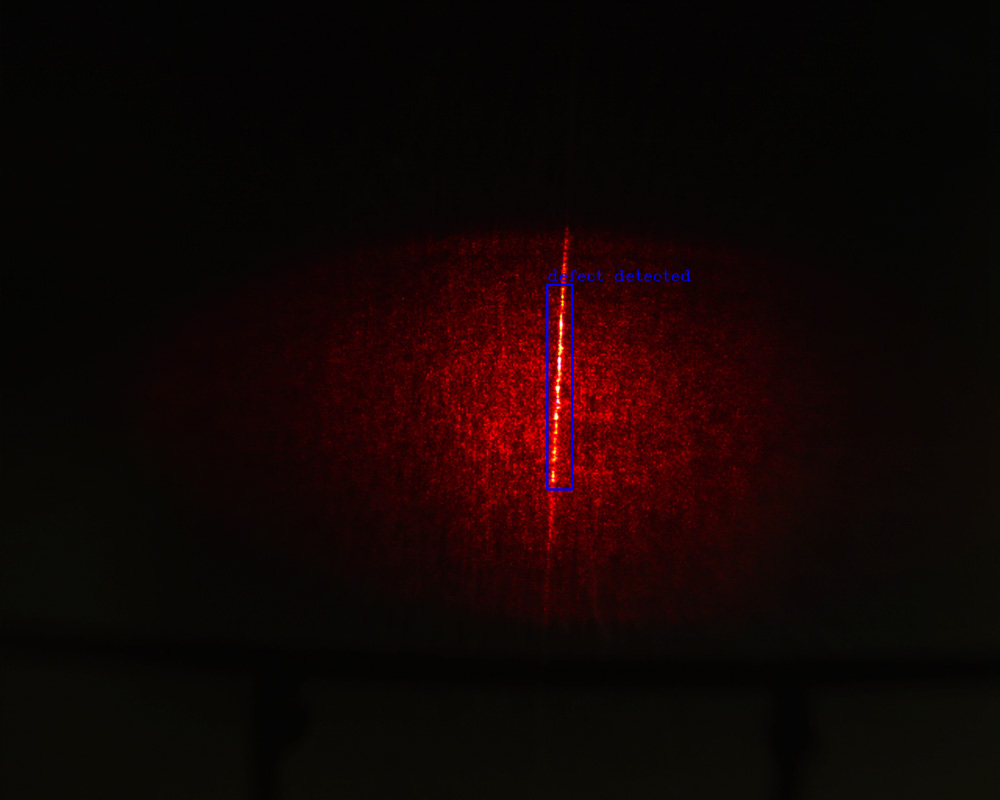
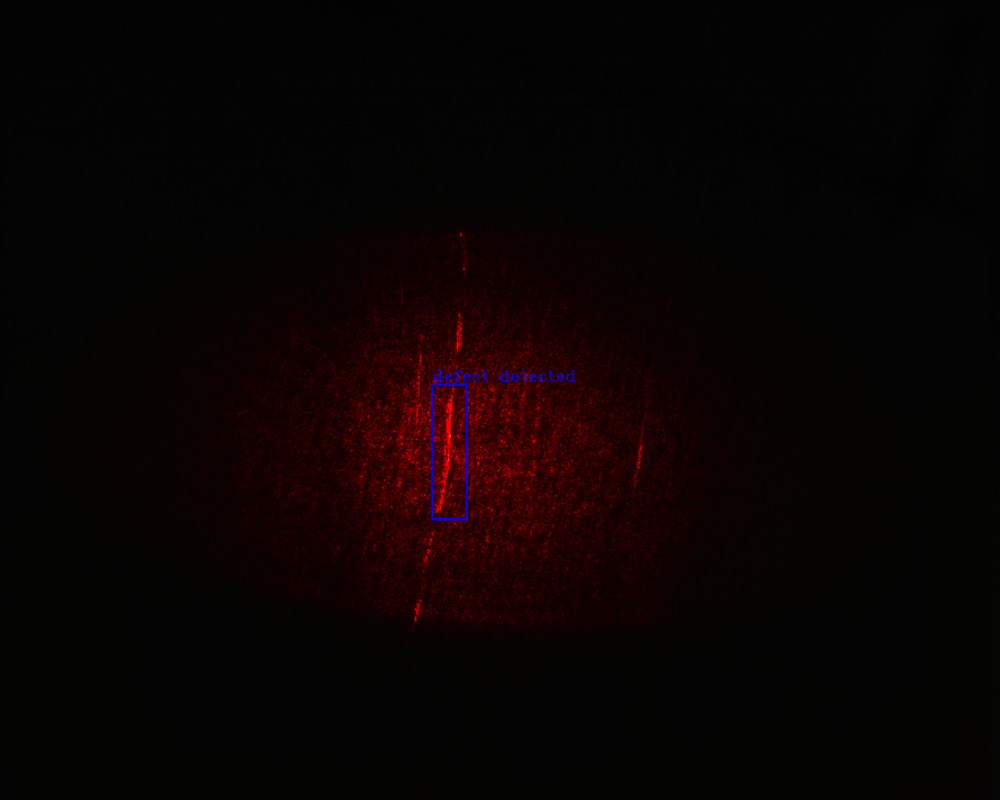
The results are shown below.
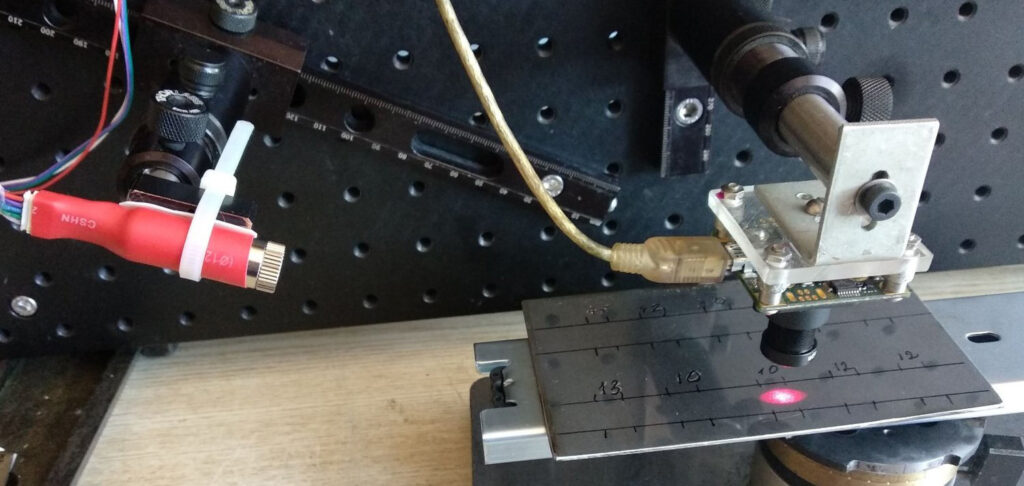
Experimental setup including a custom back-light for dark field illumination and a test object.
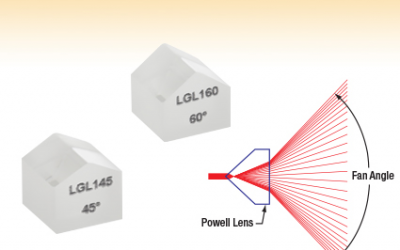
Need help? Click here to learn more about our custom illumination optic design services.
